You know the feeling. You clear out a folder, empty the Recycle Bin to free some space, and a second later your stomach drops, because the project you needed was in there. Take a breath. In many cases you can still recover deleted files on Windows 11, even after the Recycle Bin is empty. The catch is that your chances shrink every minute you keep using the PC. So read the first step before you do anything else, and then work through the rest in order.
First, Stop Using the Drive
This is the single most important step, and most people skip it. When you delete a file, Windows does not wipe it straight away. Instead, it marks that space as free. The data stays there until something new is written on top of it.
That is why Microsoft’s own recovery guide tells you to minimize or avoid using the computer: almost any activity creates files that can overwrite the space you need. In practice, that means:
- Do not download recovery software to the same drive the file was on.
- Do not install updates or large apps.
- If the lost file was on an external drive or USB stick, unplug it and leave it alone until you are ready.
Honestly, this one habit decides more recoveries than any tool does.
Quick Checks That Take Under a Minute
1. Press Ctrl + Z
If you deleted the file a moment ago in File Explorer, press Ctrl + Z in that same window. It undoes the last action and brings the file back to where it was. It sounds too simple, yet it saves a surprising number of people.
2. Look in the Recycle Bin
Files deleted from your internal drive normally go to the Recycle Bin first. Open it from the desktop, find the file, right-click it and choose Restore. It returns to its original folder.
Two exceptions catch people out. Files removed with Shift + Delete skip the Recycle Bin entirely. In addition, files deleted from most USB flash drives and memory cards are removed immediately rather than kept in the bin. For those, jump to the Windows File Recovery section.
3. Check the OneDrive Recycle Bin
If the file lived in a OneDrive folder, deleting it on the PC also deleted it from the cloud. Fortunately, OneDrive keeps its own recycle bin. Sign in to OneDrive in a browser, open Recycle bin from the left menu, select the file and choose Restore. For personal accounts, OneDrive keeps deleted items there for a limited time, usually 30 days, so do not wait. If cloud sync is new to you, our guide to how cloud storage works explains why deletions spread across devices.
Recover Deleted Files With File History
File History is the built-in backup that most people never switch on. If you did turn it on, though, this is where a deleted file becomes an easy fix rather than a disaster.
According to Microsoft’s File History guide, you restore a file like this:
- Open File Explorer and go to the folder that used to contain the file.
- Right-click the folder and select Restore previous versions.
- On the Previous Versions tab, pick a version from before the file disappeared. For a file deleted today, choose yesterday’s version.
- Select Open in File History to preview it first.
- Choose Restore to and pick a different location, so you do not overwrite anything you have now.
Microsoft warns that a plain Restore replaces the current version and cannot be undone, so Restore to is the safer choice. If the Previous Versions tab is empty, File History was not running, and you will need the next method.
Recover Deleted Files After Emptying the Recycle Bin
This is where Windows File Recovery comes in. It is a free Microsoft tool from the Microsoft Store. It has no friendly buttons, because it runs as a command in a black window, but do not let that put you off. Once you see the pattern, it is just one line.
Before you start
- You need a second drive. Microsoft requires the recovered files to go to a different drive or partition from the one you are scanning. A USB stick or external drive works well.
- Check the file system. Right-click the drive in File Explorer, choose Properties and look at File system. Most internal Windows drives use NTFS. Many USB sticks and SD cards use FAT32 or exFAT.
Choose the right mode
| Drive type | What happened | Mode to use |
|---|---|---|
| NTFS | Deleted recently | Regular |
| NTFS | Deleted a while ago, formatted or corrupted | Extensive |
| FAT32 or exFAT (USB sticks, SD cards) | Any situation | Extensive |
If you are unsure, Microsoft suggests starting with Regular mode and moving to Extensive only if Regular finds nothing.
Run the command
- Install Windows File Recovery from the Microsoft Store.
- Open it from the Start menu and select Yes on the permission prompt.
- Type the command for your situation, press Enter, and then type Y to start.
For example, this command looks for deleted Word and PDF files on drive C: and saves anything it finds to drive E:
winfr C: E: /regular /n *.docx /n *.pdfAnd this one searches a USB stick on drive E: for any file with “invoice” in its name, saving results to drive D:
winfr E: D: /extensive /n *invoice*Both follow the examples in Microsoft’s documentation. The /n filter matters more than it looks. Without it, a scan of your system drive returns thousands of files you never wanted. When the scan finishes, open the Recovery_ folder on the destination drive to see what came back.
Why SSDs Are Harder to Recover From
Here is the uncomfortable truth. On a traditional hard drive, deleted data can sit untouched for weeks. On a solid-state drive, it often does not. Microsoft notes that overwriting is especially likely on SSDs, because these drives clean up freed space in the background to stay fast.
In other words, if your laptop has an SSD and the Recycle Bin is empty, recovery is possible but far from guaranteed. Try anyway, and try soon. Not sure which drive you have? Our SSD vs HDD guide shows how to check.
When to Stop and Call a Professional
Software can only help when the drive itself is healthy. If the drive clicks, grinds, disappears and reappears, or the PC freezes whenever you open it, stop. Running scan after scan on a physically failing drive can destroy what is left.
In that case, power the PC down and contact a data recovery service. It is not cheap, but for irreplaceable photos or business files it is usually the only safe option.
Make This the Last Time It Happens
Recovery is stressful, and it is never certain. A backup, on the other hand, turns a deleted file into a two-minute fix. Pick at least one of these today:
- Turn on File History with an external drive, so you can roll back any file to an earlier version.
- Keep important folders in OneDrive or another cloud service, which adds a recycle bin of its own.
- Follow the 3-2-1 rule for anything you cannot lose: three copies, on two kinds of storage, with one stored somewhere else.
If you ever need to reset Windows 11, a working backup also means you can choose the cleanest option without worrying about your files.
Recover Deleted Files on Windows 11: Common Questions
Can I recover files deleted with Shift + Delete?
Often, yes. They skip the Recycle Bin, but the data usually stays on the drive until it is overwritten. Use Windows File Recovery, and stop using the drive as soon as you notice.
Is Windows File Recovery free?
Yes. It is a free Microsoft app from the Microsoft Store and works on Windows 11 and Windows 10.
Can I recover files from a formatted USB drive?
Sometimes. Microsoft recommends Extensive mode for formatted drives. Remember to save the results to a different drive.
How long do I have to recover a deleted file?
There is no fixed deadline. It depends on how much the drive is used afterwards. On a busy system drive or an SSD, the window can be very short, so act quickly.
The Short Version
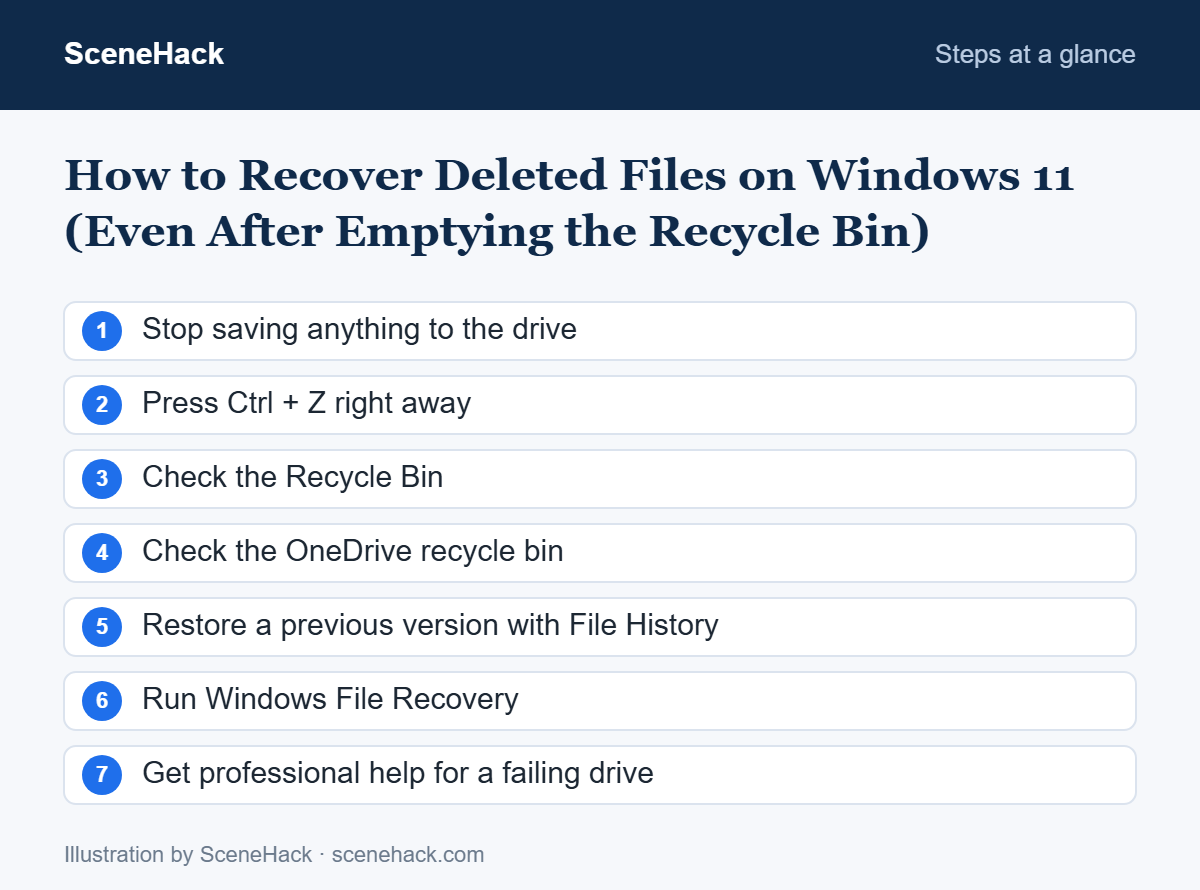
Stop using the drive, then check Ctrl + Z, the Recycle Bin and OneDrive. If those fail, try File History, and after that Windows File Recovery saved to a second drive. Most importantly, once you have your file back, set up a backup so you never have to read a guide like this again.